Hello yogis! In this week’s Fun Pose Friday post, we’ll delve into Pincha Mayurasana; the asana (pose) commonly known as forearm balance.
According to Yoga Journal: The strength and flexibility you gain from attempting more-physically challenging poses such as Pincha Mayurasana can have a profound effect on your self-awareness and confidence. When you begin to know how much power you possess and realize that you have the ability to connect to it at will, you will be able to release your mind from the grip of negative emotions, including fear, much more quickly.
A lot can be gained from this pose, but it takes time and patience for most people to build up to Pincha Mayurasana. So how do you get there?
First, it is helpful to work on strength in the upper body and abdominals. Poses like Chaturanga and Dolphin are helpful for building upper body strength. Navasana (boat), and Vasisthasana (side plank) are great poses to build core strength.
Once you’ve mastered the preparatory poses and are ready to try out Pincha Mayurasana, here’s how to get into it:
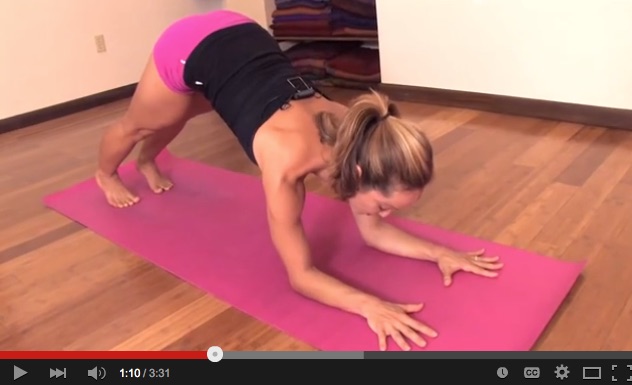
Come to a kneeling position and place forearms on the mat, shoulder-width apart. Begin creating a strong foundation for the pose by spreading fingers evenly.
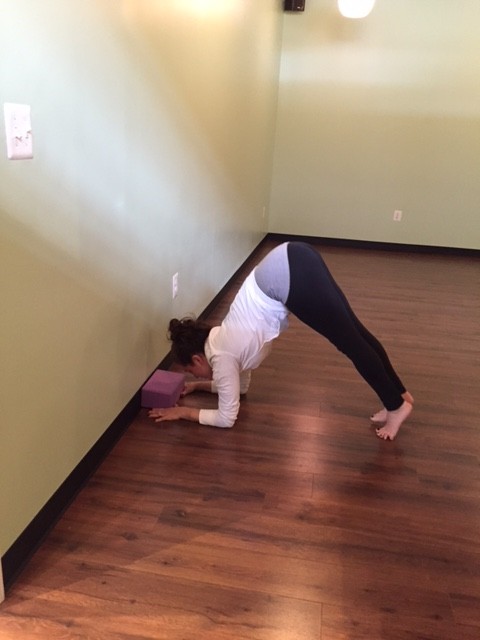
Pick the knees up off the mat and come into Dolphin. Walk the feet in closer to the arms and when you are ready, raise one leg, while maintaining a strong foundation in your arms.
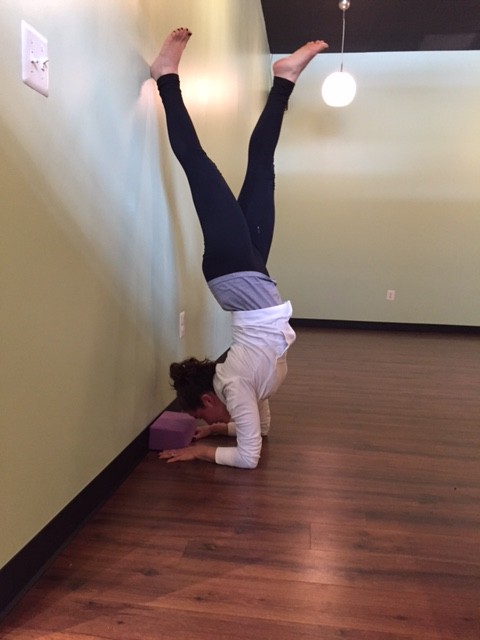
Engage your abdominal muscles and take some gentle hops, using core strength to get both legs in the air.
When you have both legs up, stretch the feet up toward the ceiling and extend your back to avoid arching the spine.
Check out Daisy in her pretty pincha below!
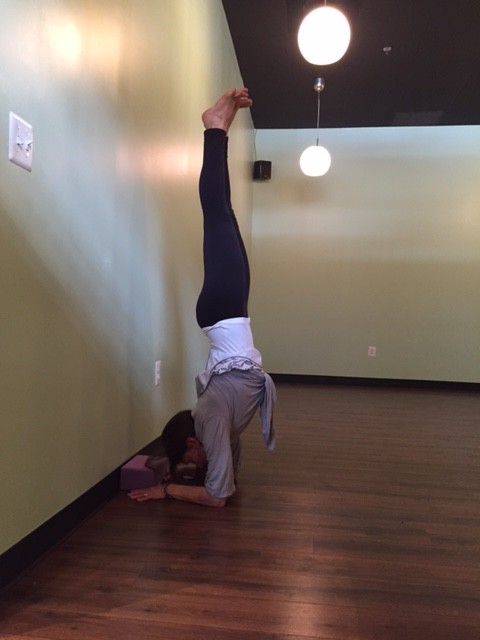
The trick is to line up elbows under shoulders, shoulders in line with hips, hips in in line with ankles. The final touch– spark your yogi toes!
If you are just starting to experiment with forearm balance, try setting up close to the wall and placing forearms parallel on the mat, with elbows stacked beneath the shoulders and fingertips close to the wall. When you invert, this will enable your feet to find the wall and feel stable.
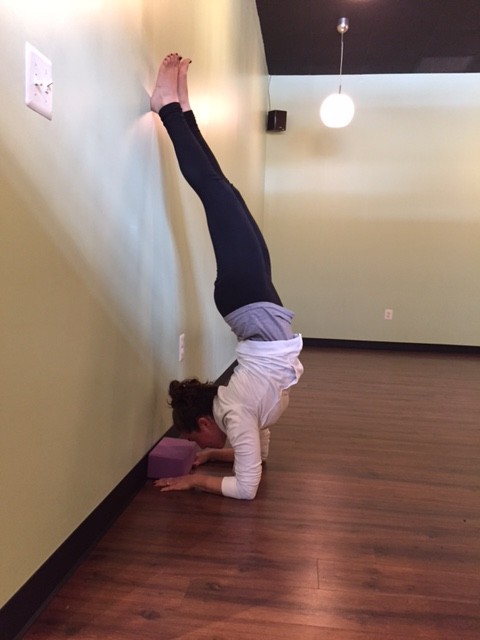
If you want to test your balance in the pose, but aren’t quite ready to venture into the middle of the room, take your forearm placement 6 to 12 inches away from the wall. That way if you lose your balance, the wall will still be there to catch you. When you feel balanced enough to try the pose in the middle of the room, initially you may want to have someone nearby to spot you.
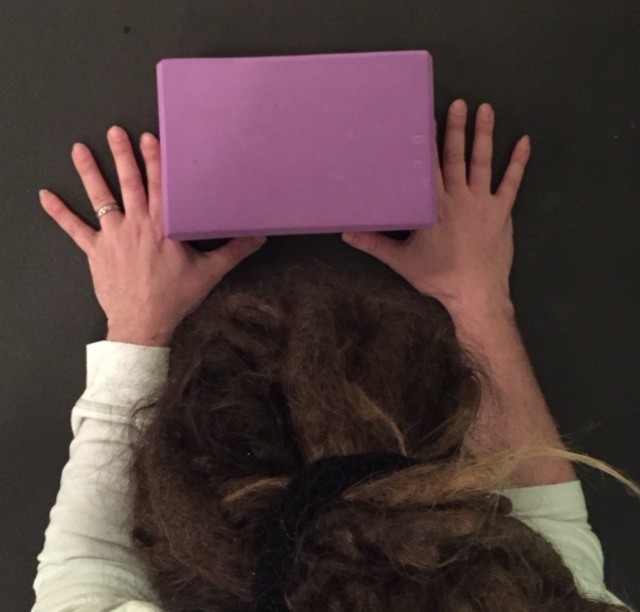
Tip: Use a block against the wall you are working with. Make an “L” shape with your hands (thumb and pointer finger) wrapped around the corners of the block helps. This will help with perfecting your forearm and hand placement and also provides some added stability as you go up-side-down.
Thanks for the demo Jarrad!
Forearm balance’s benefits include:
• Improved strength in the neck, shoulder, abdominals and upper-back
• Increased flexibility in the shoulders
• Improved strength and balance
• Heightened energy levels
Check out this video from Kino McGregor for a step-by-step demo:
Enjoy yogis! See you on the mat!

